
{{text}}
Share
If you are designer or web developer, it is likely that you already know Figma and Webflow. These two tools are essential in the field: Figma excels in creating interactive mockups and UI/UX prototypes, while Webflow makes it possible to transform these designs into functional websites with simplicity.
In this article, we will show you how to go from your Figma model to an operational site on Webflow. This process includes the use of plugins and best practices to ensure a smooth and effective transition.
Whether you are a beginner or an experienced person, this step is critical to bringing your ideas to life. We will detail the key steps, the essential tools and the methodologies that will allow you to carry out your project quickly and successfully.
Why migrate from Figma to Webflow?

La migration from your models from Figma to Webflow offers many significant advantages, making it an essential step in your web design and development workflow. If you are looking for experts to support you in this process, a Webflow Paris agency can help you get the most out of these two tools that are Complete, each one excels in specific areas.
Figma is a UI/UX design platform rich in collaboration tools and features. It makes it possible to create interactive models and prototypes with great precision. However, once your design is finalized, Webflow takes over to offer a workflow design-to-development more fluid and effective.
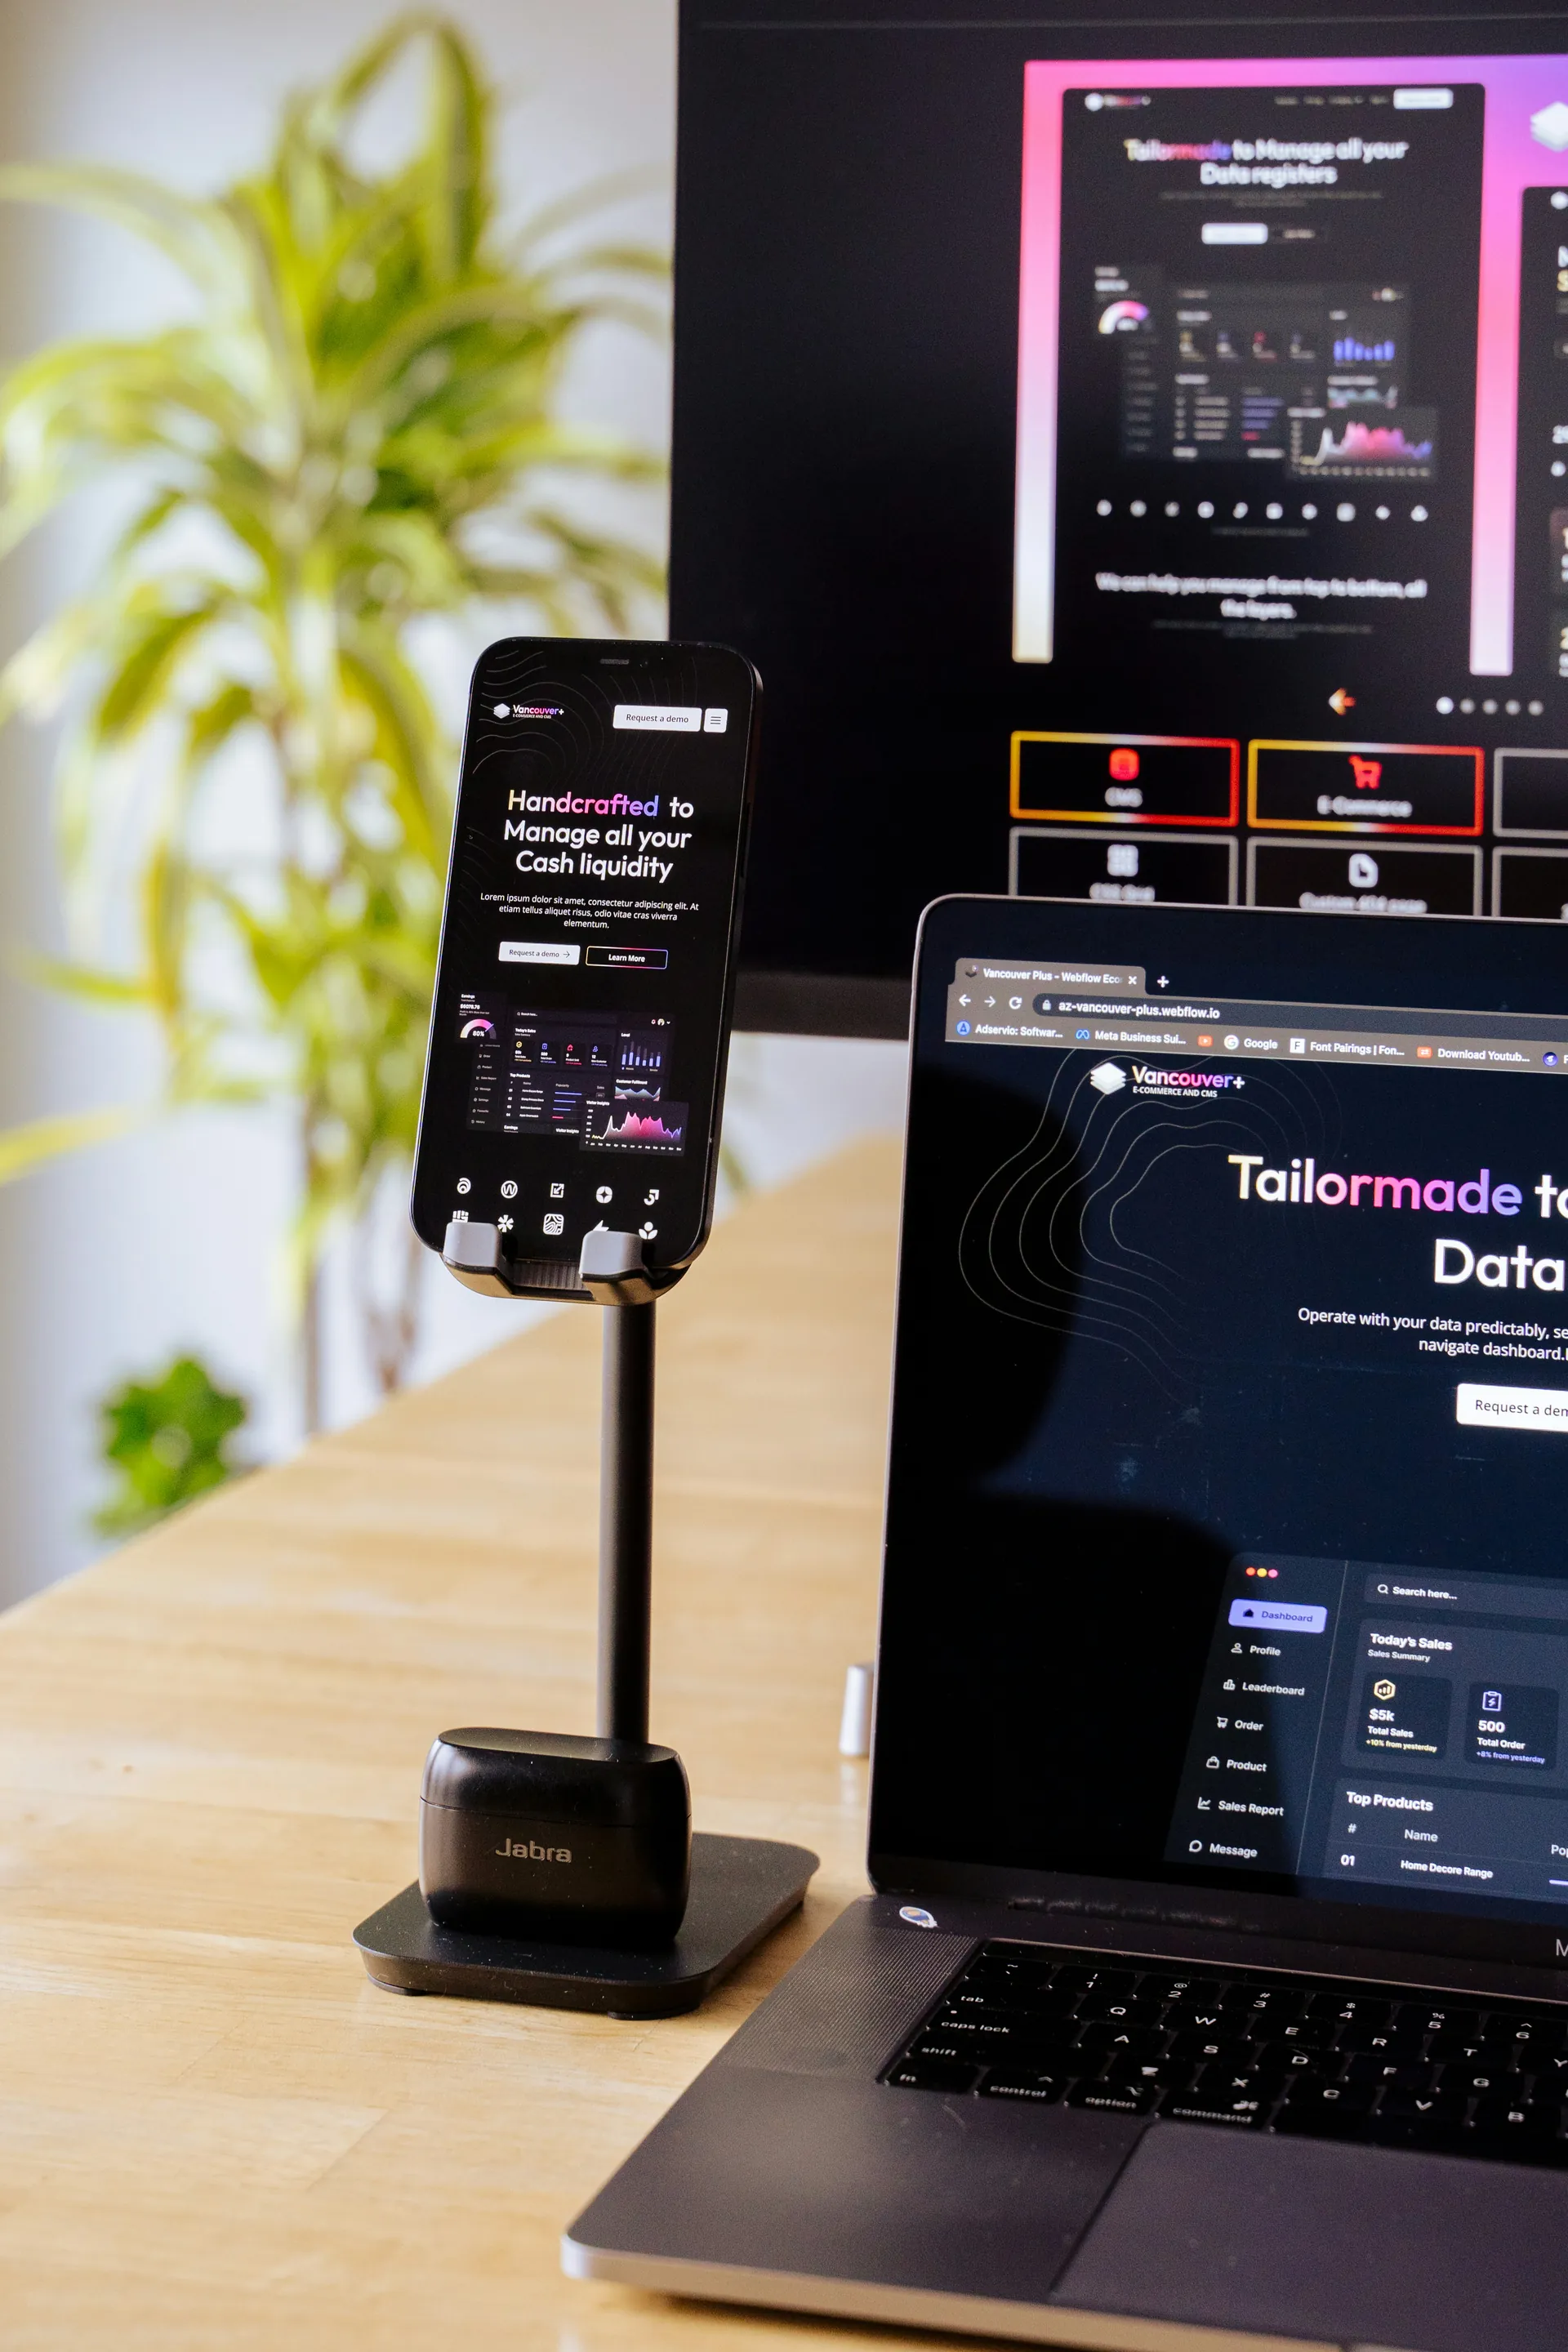
One of the main advantages of migrating to Webflow is the ability to transform your static designs into websites. dynamic and interactive. Webflow allows you to synchronize your design system, including components, variables, and styles, directly from Figma. This ensures a consistency perfect between your design and your website, while taking advantage of Webflow's advanced tools to create sophisticated sites quickly.
In addition, Webflow offers visual tools for the CMS, visual interactions, as well as integrated functionalities for theparses, A/B testing, personalization, and SEO. These features take your design to the next level in terms of functionality and performance, which is often difficult to achieve with static design tools alone.
Finally, migrating to Webflow greatly simplifies the web development process by reducing the need for manual coding. Thanks to plugins and integrations like the plugin Figma to Webflow, you can export and import the elements of your model directly, thus speeding up the process of putting your website online.
Preparing your Figma model for Webflow integration
Before migrating your model of Figma worms Webflow, it is essential to prepare your file well to ensure a smooth and efficient transition. Here are the key steps to follow to optimize your model.
Use Autolayout effectively
The tool Autolayout by Figma is a real asset for designing flexible and reusable components. By using it, you can set up your items to automatically adapt to different content and sizes. This greatly simplifies the migration to Webflow while maintaining the consistency of your design.
Thanks to Autolayout, you also reduce the time needed to adjust items once in Webflow, saving valuable time.
Structuring your frames and components
A well-organized structure of your frames and components is essential. Create components for recurring items like the navigation, the Footer, the pimples, forms, and blog posts.
Not only does this improve the visual consistency of your design, but it also makes it easier for developers to work when importing into Webflow. Make sure you group and name layers correctly so developers can easily navigate through your Figma mockup.
Optimize naming and hierarchy
One Naming clear and well-defined hierarchy are essential for a successful migration. Use descriptive and logical layer and frame names, while ensuring that the hierarchy of elements is intuitive.
This organization makes it possible to avoid confusion and errors when importing into Webflow. In addition, consistent use of margins and Padding in your design ensures that the website will be better structured and lighter once online.
Best practices for a quick migration to Webflow
For migrate effectively your Figma to Webflow model, several best practices can considerably quicken and simplify the process. Here are some key tips to follow.
Use a Figma to Webflow plugin
One of the most powerful tools for migrating your Figma model to Webflow is the Figma to Webflow plugin. This plugin allows you to export your designs from Figma to Webflow in a single click, taking care of the export of specific components, global elements and styles. This significantly reduces the time and effort required to manually rebuild your items in Webflow.
Understanding the limits of automation
While plugins and automation tools are very useful, it's important to understand their limits. Some design complexities or specific interactions may not be fully captured by automation. It is therefore essential to manually check and adjust some items once imported into Webflow to ensure that everything works as expected.
This check makes it possible to correct the potential errors and to maintain the consistency of the design.
Ensure the consistency of styles and fonts
La consistency of styles and fonts is essential for a successful migration. Ensure that styles and fonts are well defined and consistent in Figma before importing them into Webflow. Use Figma's global style features to maintain consistency in your design, and import these styles directly into Webflow to avoid inconsistencies.
This helps ensure that your website maintains thevisual aspect and the consistency of your original model.
Recommended methodology: Client-First and other frameworks
During the migration from your Figma model to Webflow, adopting a structured methodology can significantly improve the efficiency and consistency of the process. One of the most recommended methodologies is the framework Client-First.
Client-First benefits for migration
The Client-First framework, developed by FinSuite, offers several key benefits for the migration of your Figma models to Webflow. First of all, Client-First allows you to structure your website in a way curated, by naming components, sections, and div blocks in such a way logical and consistent.
This approach facilitates understanding and the maintenance of the site by developers and customers, as it ensures that all elements are clearly identified and accessible.
Another major advantage of Client-First is its ability to synchronize the design systems between Figma and Webflow. By recreating the design variables used in Figma directly in Webflow, you can maintain a perfect uniformity in your design and development workflow.
This synchronization includes the precision in thespacing and the size, as well as the possibility of activating light and dark modes, which enriches the user experience of your website.
In addition, the Client-First framework is designed to improve SEO and ease of navigation for search engines. By structuring your site in an organized manner, you help crawlers better understand and index your content, which can improve your visibility in the search results.
By adopting the Client-First methodology, you can create a unified system for designing and website development, reducing the time and effort required for migration, while ensuring consistency and high quality in the end result.
Alternatives: Lumos, SystemFlow, etc.

If the plugin Figma to Webflow does not fully meet your needs or if you are looking for alternative solutions to migrate your models from Figma to Webflow, several tools and methods can be considered.
Lumos and SystemFlow
Although Lumos and SystemFlow are not explicitly mentioned as direct alternatives to the Figma to Webflow plugin, these tools offer interesting approaches to integrate and migrate your designs.
Lumos, for example, is useful for designing and organizing components, while SystemFlow helps to structure and optimize the logic of your designs before they are imported into Webflow. However, these solutions are not specifically designed for migrating from Figma to Webflow and require custom adaptation.
Detachless
Detachless is a practical alternative to the Figma to Webflow plugin. This tool allows you to publish websites directly from Figma, without leaving the application.
By simplifying the migration process, Detachless eliminates intermediate steps while ensuring perfect consistency between the design and the final website. It is an ideal solution for those who want to reduce migration efforts and maintain a smooth integration between Figma and Webflow.
Bubble, Framer, and Siter
Other notable alternatives include Bubble, Framer, and Siter. Although primarily designed for code-free development, these platforms also allow you to create websites based on your Figma designs.
Bubble, for example, offers the ability to design, develop, and launch applications without code, which can be particularly useful if you are looking for a more comprehensive solution for your web project. For their part, Framer and Siter offer advanced tools to create responsive web pages with animations and dynamic interactions.
These alternatives present different approaches to migrate your Figma models to Webflow. By choosing the tool that best fits your specific needs, you will be able to optimize your migration process and obtain an end result of high quality.
Useful tools and plugins to speed up migration

For simplify and quicken the migration of your Figma models to Webflow, several tools and plugins can be of great help. Here is a selection of the most important ones to consider.
Figma Plugins
Among the most efficient tools for migration, the plugin Figma to Webflow stands out. It allows you to export your designs from Figma to Webflow in a single click. This plugin supports the export of specific components, elements, and global styles.
It converts Figma diapers to HTML and CSS, while maintaining font styles, automatic layouts, images, backgrounds, and shadows and borders.
To use this plugin, install it from the Figma plugin library, then authorize its access to your Webflow sites or workspaces. Although it has some limitations, such as its exclusive support for Chrome and the Figma Desktop application, this plugin is still a great way to simplify migration.
Webflow import tools
Webflow also offers several import tools that facilitate the integration of your Figma designs. For example, you can manually import your Figma assets as files SVG or PNG, then integrate them into Webflow to build your website.
That said, using the Figma to Webflow plugin is often more effective, because it automates a big part of the process.
In addition, Webflow allows you to directly import Figma components and styles into your project. This means that you can create reusable components in Figma and integrate them as reusable elements in Webflow, saving time while ensuring consistency in your design.
Migration checklists and guides
To ensure a smooth migration, it is important to follow Checklists and detailed guides. These resources help you structure each step, from preparing your Figma model to finally putting your site online on Webflow.
Guides, such as those offered by Creative Corner or LitExtension, offer clear steps and practical tips for a successful migration.
These checklists cover essential aspects such as verifying the structure of frames and components, optimizing names and hierarchy, and making adjustments after importing into Webflow. By following them, you minimize errors and maximize the efficiency of your migration process.
Practical case: migrating a Figma landing page to Webflow step by step
Migrate a Landing page from Figma to Webflow can be a simple and effective process if you follow the right steps. Here is a detailed guide to help you with this migration stepwise.
Step 1: Prepare and organize your Figma model
Start with organize your Figma mockup. Make sure your frames and components are well structured and named in a clear and descriptive way. Use Autolayout features to create components that are flexible and reusable.
A well-structured model simplifies the migration and reconstruction of the design in Webflow.
Step 2: Set up your Webflow project
Create a new project in Webflow and set up the structure of your page. Define the sections and the div blocks in a logical way, respecting the structure of your Figma model. Collaborate with a Webflow Paris agency can be a wise choice to benefit from expert know-how and guarantee the consistency between the initial design and the final website.
Step 3: Export and import assets
Use the plugin Figma to Webflow to export your designs from Figma to Webflow. This plugin allows you to export specific elements, components, and global styles with a single click. If you prefer, you can also manually export your Figma assets as SVG or PNG files and then import them into Webflow.
Step 4: Rebuild the page structure
Once your assets have been imported, start rebuilding the structure of your page in Webflow. Use the components and styles you imported to create the corresponding sections of your landing page.
Be sure to respect the hierarchy and styles defined in your Figma model to ensure a perfect harmonization between the design and the final site.
Step 5: Add Content and Interactions
Add the textual content, the pictures and the other assets needed for your landing page. Use Webflow's interaction tools to integrate animations, transitions, and visual effects that match your Figma design.
These elements will contribute to creating a engaging user experience and interactive.
Step 6: Check and Adjust
Carefully review your page to make sure everything is in accordance with your Figma model. Adjust necessary details, such as margins, the Padding, font sizes, and colors to ensure perfect consistency.
Don't forget to test the responsiveness of your page to check that it fits different screen sizes.
Step 7: Publish Your Site
Once you have checked and adjusted all the items, you are ready to publish your site. Webflow offers flexible publishing options, allowing you to publish your site on a custom domain or on a Webflow subdomain.
Be sure to configure the settings SEO and meta-data to optimize the visibility of your site in search engines.
By following these steps, you can effectively migrate a landing page from Figma to Webflow while maintaining the consistency And the quality of your original design.
Common mistakes when migrating Figma > Webflow
When migrating your models of Figma worms Webflow, several common mistakes can occur. Here are some of the most common ones and their solutions.
Connection and Authorization Issues
One of the common problems is the failure of the connection between Figma and Webflow. If you encounter an error message like “Link Unsuccessful” in Figma, make sure that the authorization has been set up correctly in the Webflow integration settings. Also check that the plugin Figma to Webflow is well installed and updated.
Discrepancies in Structure and Layout
Les Discrepances between the design structure in Figma and the page structure in Webflow can cause problems. It is important to develop the layout in Figma following the recommendations of Webflow, using the basic blocks, sections, elements and columns of Webflow.
This ensures that the pages are adaptive once imported into Webflow.
Problems with Components and Styles
Figma components using states that are not supported by Webflow can cause problems. Be sure to detach components in Figma to avoid Issues during the transfer. Additionally, color and text styles need to be simplified; for example, Figma allows color variables to be defined with multiple layers, but Webflow only imports the first layer in the list.
It is therefore recommended to use a single diaper for each color.
Complexity of Vector Layers and Effects
Complex vector layers or effects that are not supported by Webflow may not be transferred smoothly. It is important to clean and Label layers for easy navigation in Webflow and to avoid complex effects that may not be compatible.
Placement and Alignment Errors
During the transfer, the elements may not be placed correctly or aligned as intended. To avoid these inconveniences, it is often recommended To transfer the sections One at a time. This makes it possible to better manage the process and to quickly correct any errors as they occur.
Once the items are imported into Webflow, take the time to verify And ofadjust their placement and alignment to guarantee an optimal result.
By staying alert to these common mistakes and following these practical tips, you can minimize problems and ensure migration Successful from your Figma models to Webflow.
Conclusion: towards a smoother design-to-web workflow
The migration of your models of Figma worms Webflow can be greatly simplified and optimized through the use of the right methods and tools. By connecting these two platforms, you can create a Design-to-web workflow more fluid and efficient, transforming your designs into functional and responsive websites with speed and precision.
For example, the plugin Figma to Webflow allows you to export your designs from Figma to Webflow in a single click. This process maintains the typography styles, automatic layouts, images, backgrounds, and shadows and borders. This feature significantly reduces the time and effort required to manually recreate your items in Webflow.
In addition, by applying best practices when preparing your Figma models, such as usingAutolayout, the structuring of frames and components, as well as the optimization of naming and hierarchy, you ensure a smooth transition. Checklists and migration guides are also essential to avoid frequent mistakes and ensure the consistency of your design throughout the process.
Adopt a structured methodology, such as the framework Client-First, and using import tools and specific plugins, allows you to create an integrated system for the design and development of websites. This not only helps to improve the efficiency of your workflow, but also to increase the final quality of your website.
In summary, the key to a successful migration is a thorough understanding of the capabilities and limitations of each tool, as well as the application of best practices and proven methodologies. By integrating Figma and Webflow In an effective way, you can design websites that are both visually appealing and functionally sound, while reducing the time and effort required to get them online.
Conclusion
In summary, migrate your models From Figma to Webflow can be a process smooth and effective if you use the right methods and tools. The use of the plugin Figma to Webflow allows you to export your designs with a single click, while maintaining styles and components.
To ensure a successful migration, it is essential to carefully prepare your Figma model, adopt good structuring and naming practices, and understand the limits of automation.
By following the detailed steps, and relying on appropriate tools and checklists, you can minimize errors and maximize the efficiency of your workflow. Feel free to incorporate these solutions into your design and development process to create websites. Responsive and professionals.
Start optimizing your design-to-web workflow today and turn your designs into reality with Figma and Webflow.
FAQ - Figma to webflow
What browsers are compatible with the Figma to Webflow plugin?
The plugin Figma to Webflow is compatible with browsers Chrome and the desktop version of Figma. However, he is not supported on Safari.
How do I install and connect the Figma to Webflow plugin to my Webflow account?
To install and connect the plugin Figma to Webflow to your Webflow account, follow these steps:
- Install the Figma to Webflow plugin from the Figma plugins page or via the link on the Webflow site.
- Click on “Try it out” or “Run” to open a new design file in Figma and request authorization from your Webflow account.
- Select sites or Webflow workspaces that you want to authorize for the plugin.
- Click on “Authorize app” to finalize the authorization.
- Open the plugin in Figma via the menu “Resources” > “Plugins” and click on “Run” if the plugin does not open automatically.
What design elements in Figma can be synchronized with Webflow using the plugin?
With the plugin Figma to Webflow, you can sync multiple design elements from Figma to Webflow, including:
- The components
- Design variables
- The styles
- Layouts (including auto layout frames)
- The colors
- The texts
- The images
You can also sync your global design system, which makes it possible to maintain a consistency between Figma and Webflow.
Can I use the Figma to Webflow plugin if I don't have coding experience?
Yes, you can use the plugin Figma to Webflow even if you don't have no coding experience. This plugin automatically converts Figma design elements into HTML and CSS for Webflow, thus simplifying the design transfer process without requiring technical knowledge.
Synqro's latest achievement