
{{text}}
Share
Create a model with Figma is an essential step for the success of your projects of web design or the development of mobile applications. This intuitive and powerful tool allows you to visualize and to test your ideas before the development phase, thus guaranteeing a optimal user experience.
With Figma, you can design high-quality website or app templates, even without coding skills. Among its many advantages, we find the possibility of prototype quickly, to create wireframes and mockups, while collaborating in real time with your team.
Whether you are a beginner or a professional, Figma is the perfect tool to bring your ideas to life. Ready to explore its features and design mockups that will captivate? Start now in the origination with an attractive and intuitive design!
What is a Figma model?
Definition of what a digital model is
A digital model is a detailed visual representation of a project, whether for a website, a mobile application or any other digital product. It allows visualize the entire structure, navigation, and content before moving on to the development phase. This step is essential for Clarifying communication between teams, test the final product, and reduce costs as well as the timeframes related to the project.
Difference with wireframes
A digital model is different from wireframes, which are raw and minimalist structures representing the elements of a website or an application. While wireframes focus on the position and arrangement of elements, the model integrates visual identity, colors, fonts, final texts, and visuals, thus offering a more complete vision and realistic of the project. To obtain a successful result that meets your expectations, discover our agency specialized in graphic design.
What is Figma?
Figma is a digital design tool collaborative online, specifically designed for creating mockups and prototypes of websites and mobile applications. It allows designers to work in real time, collaborate with other team members, and easily share their work. Figma offers a variety of features, including the creation of wireframes, mockups, and interactive prototypes, as well as the use of plugins and templates for speed up the process of design.
Figma benefits
Figma is particularly appreciated for its usability, even for design beginners. It allows you to create web and mobile designs of high quality without requiring coding skills. In addition, Figma is accessible from any web browser, making it easy to collaboration and the review of projects in real time. Figma's advanced features, such as prototyping and plugins, help improve efficiency and the quality of the design process.
What are the 4 steps to make a Figma model?
1. The organization of the workspace on Figma
To create a Figma model, the first step is to organize your workspace well. Effective organization is essential to ensure a smooth collaboration and simplified navigation.
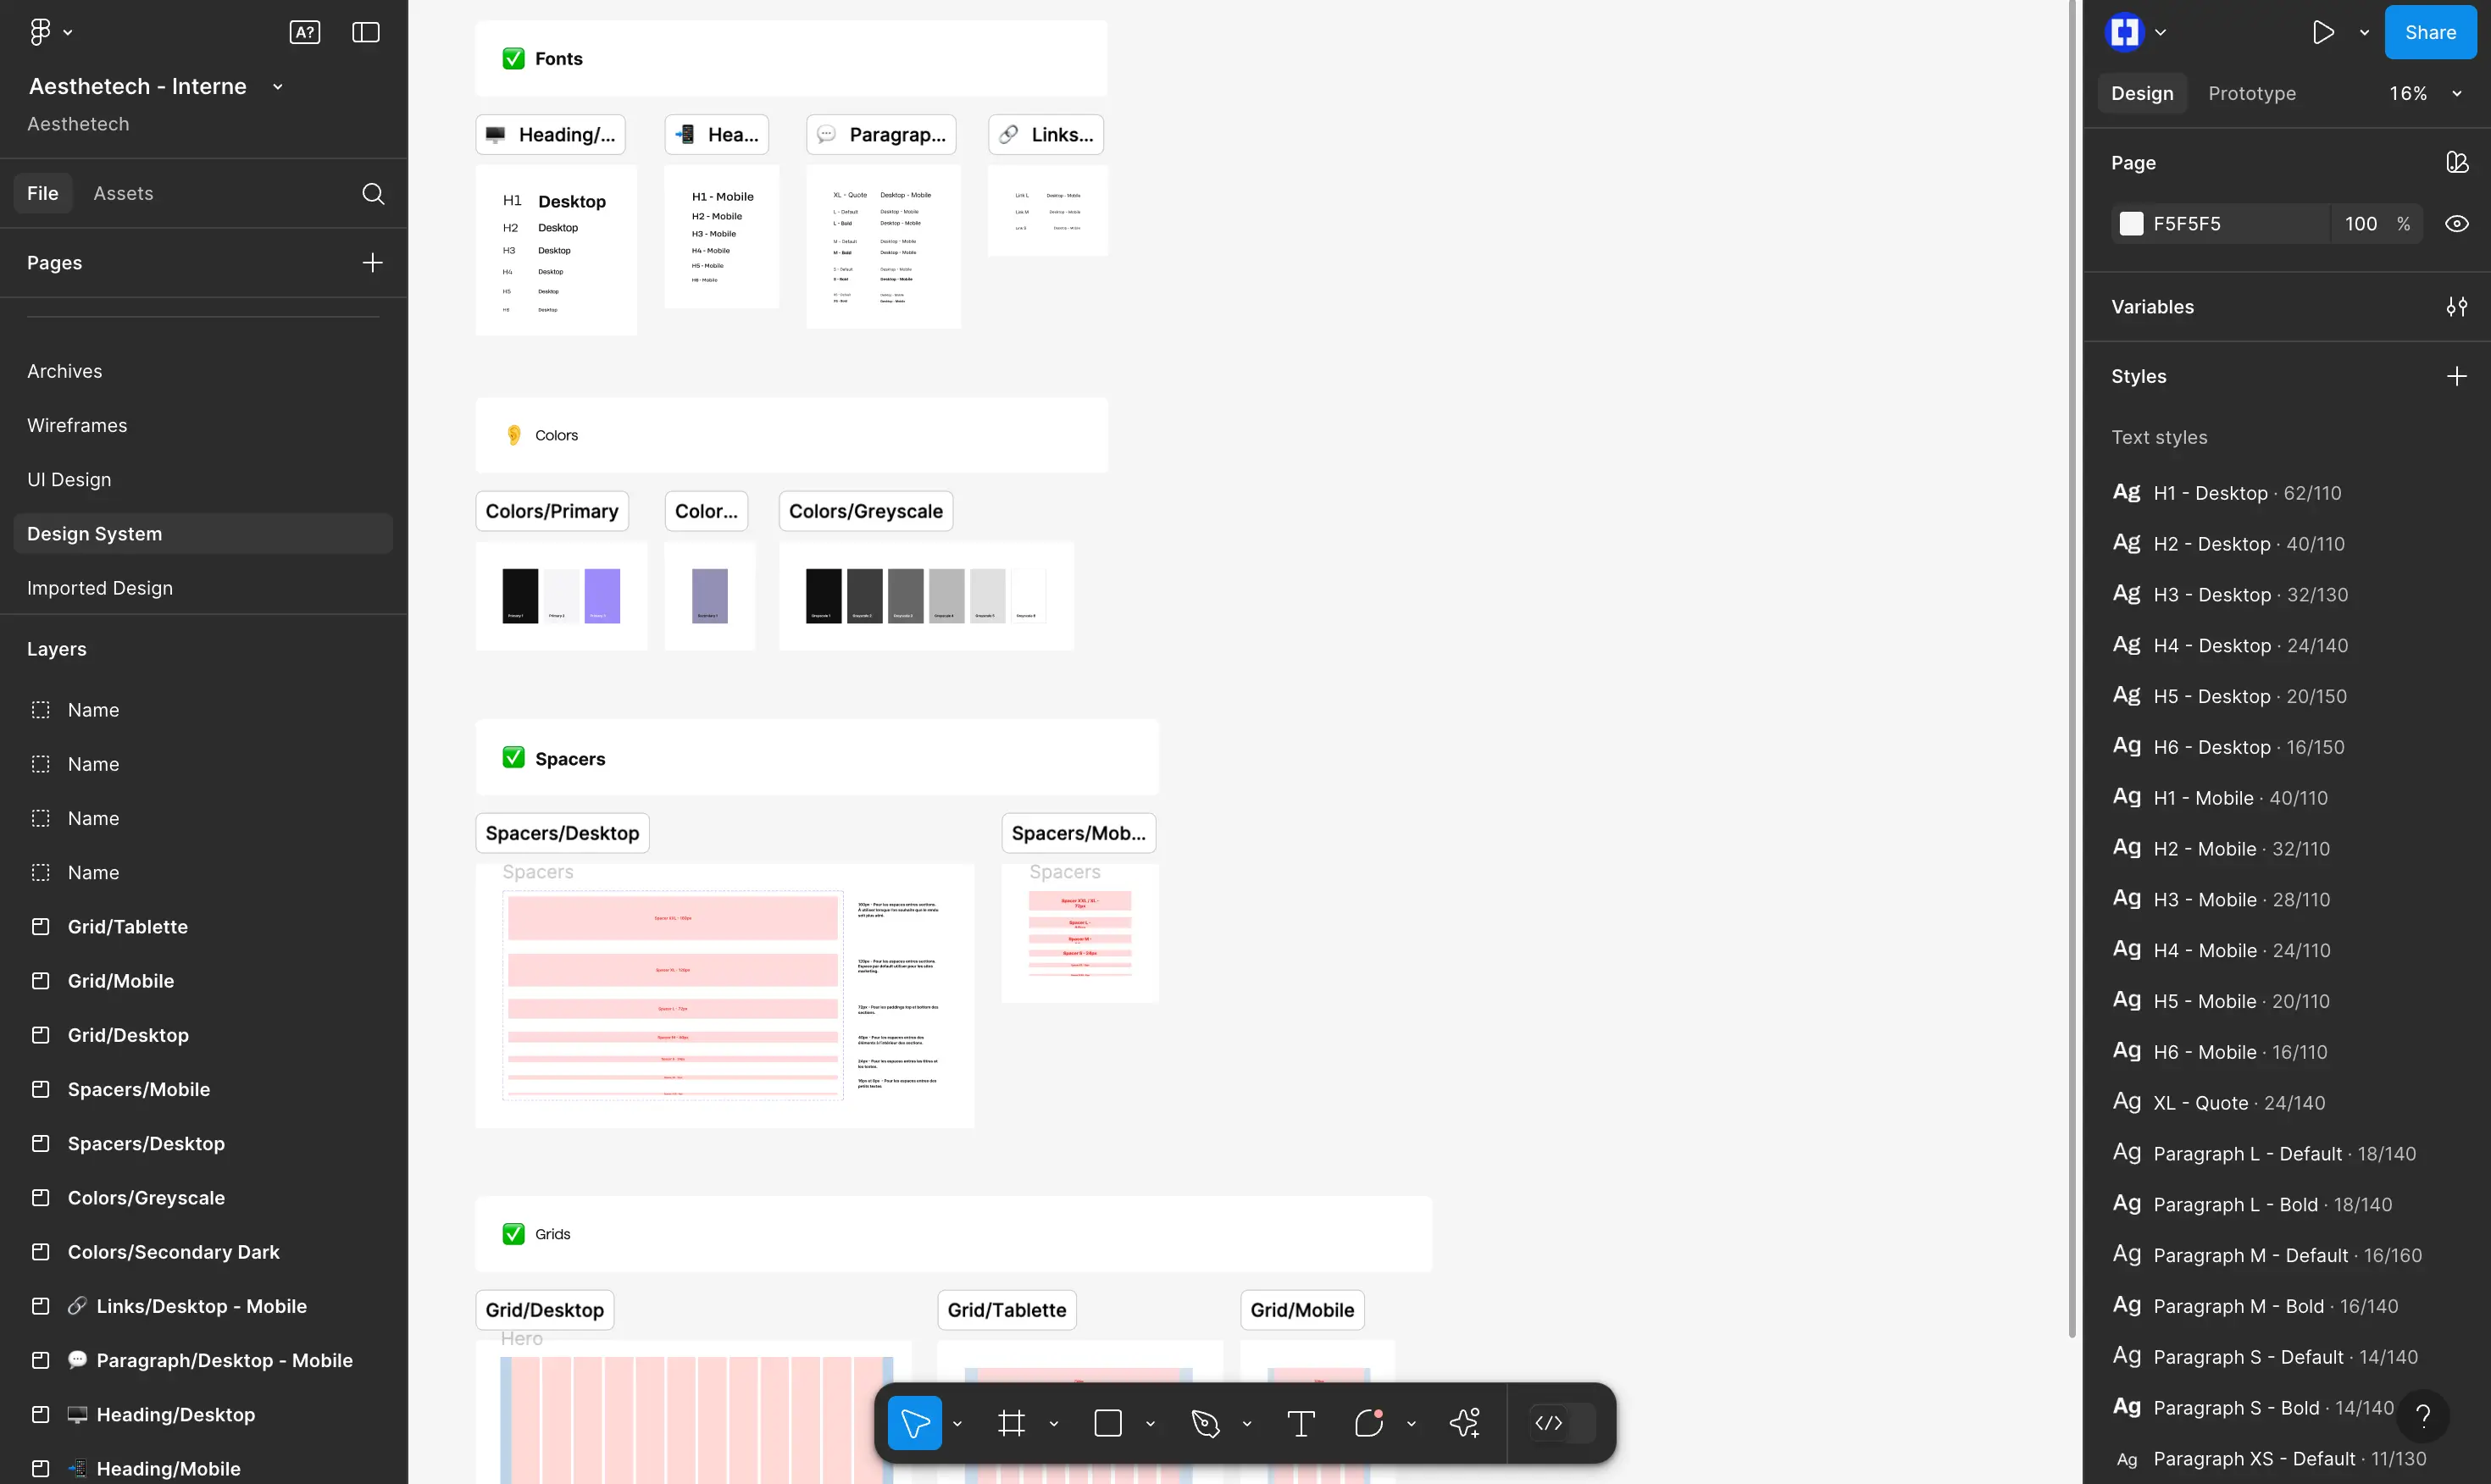
Start by creating a new project in Figma and giving it a name clear and descriptive. Next, create two main pages: one called “UI Kit” and another called “Wireframe.” The “UI Kit” page will be used to group all recurring graphic elements, such as colors, fonts, buttons, navigation bars, and logos.
This page is essential to maintain a visual coherence throughout your project. The “Wireframe” page, on the other hand, will be used to design the basic structure and architecture of your website or application.
Be sure to name each item appropriately clear and intuitive, making it easy to navigate and collaborate with your team.
Organizational tip
To rename an item, simply double-click on its name in the workspace or in the left sidebar. This simple trick will help you maintain a workspace orderly and easy to manage.
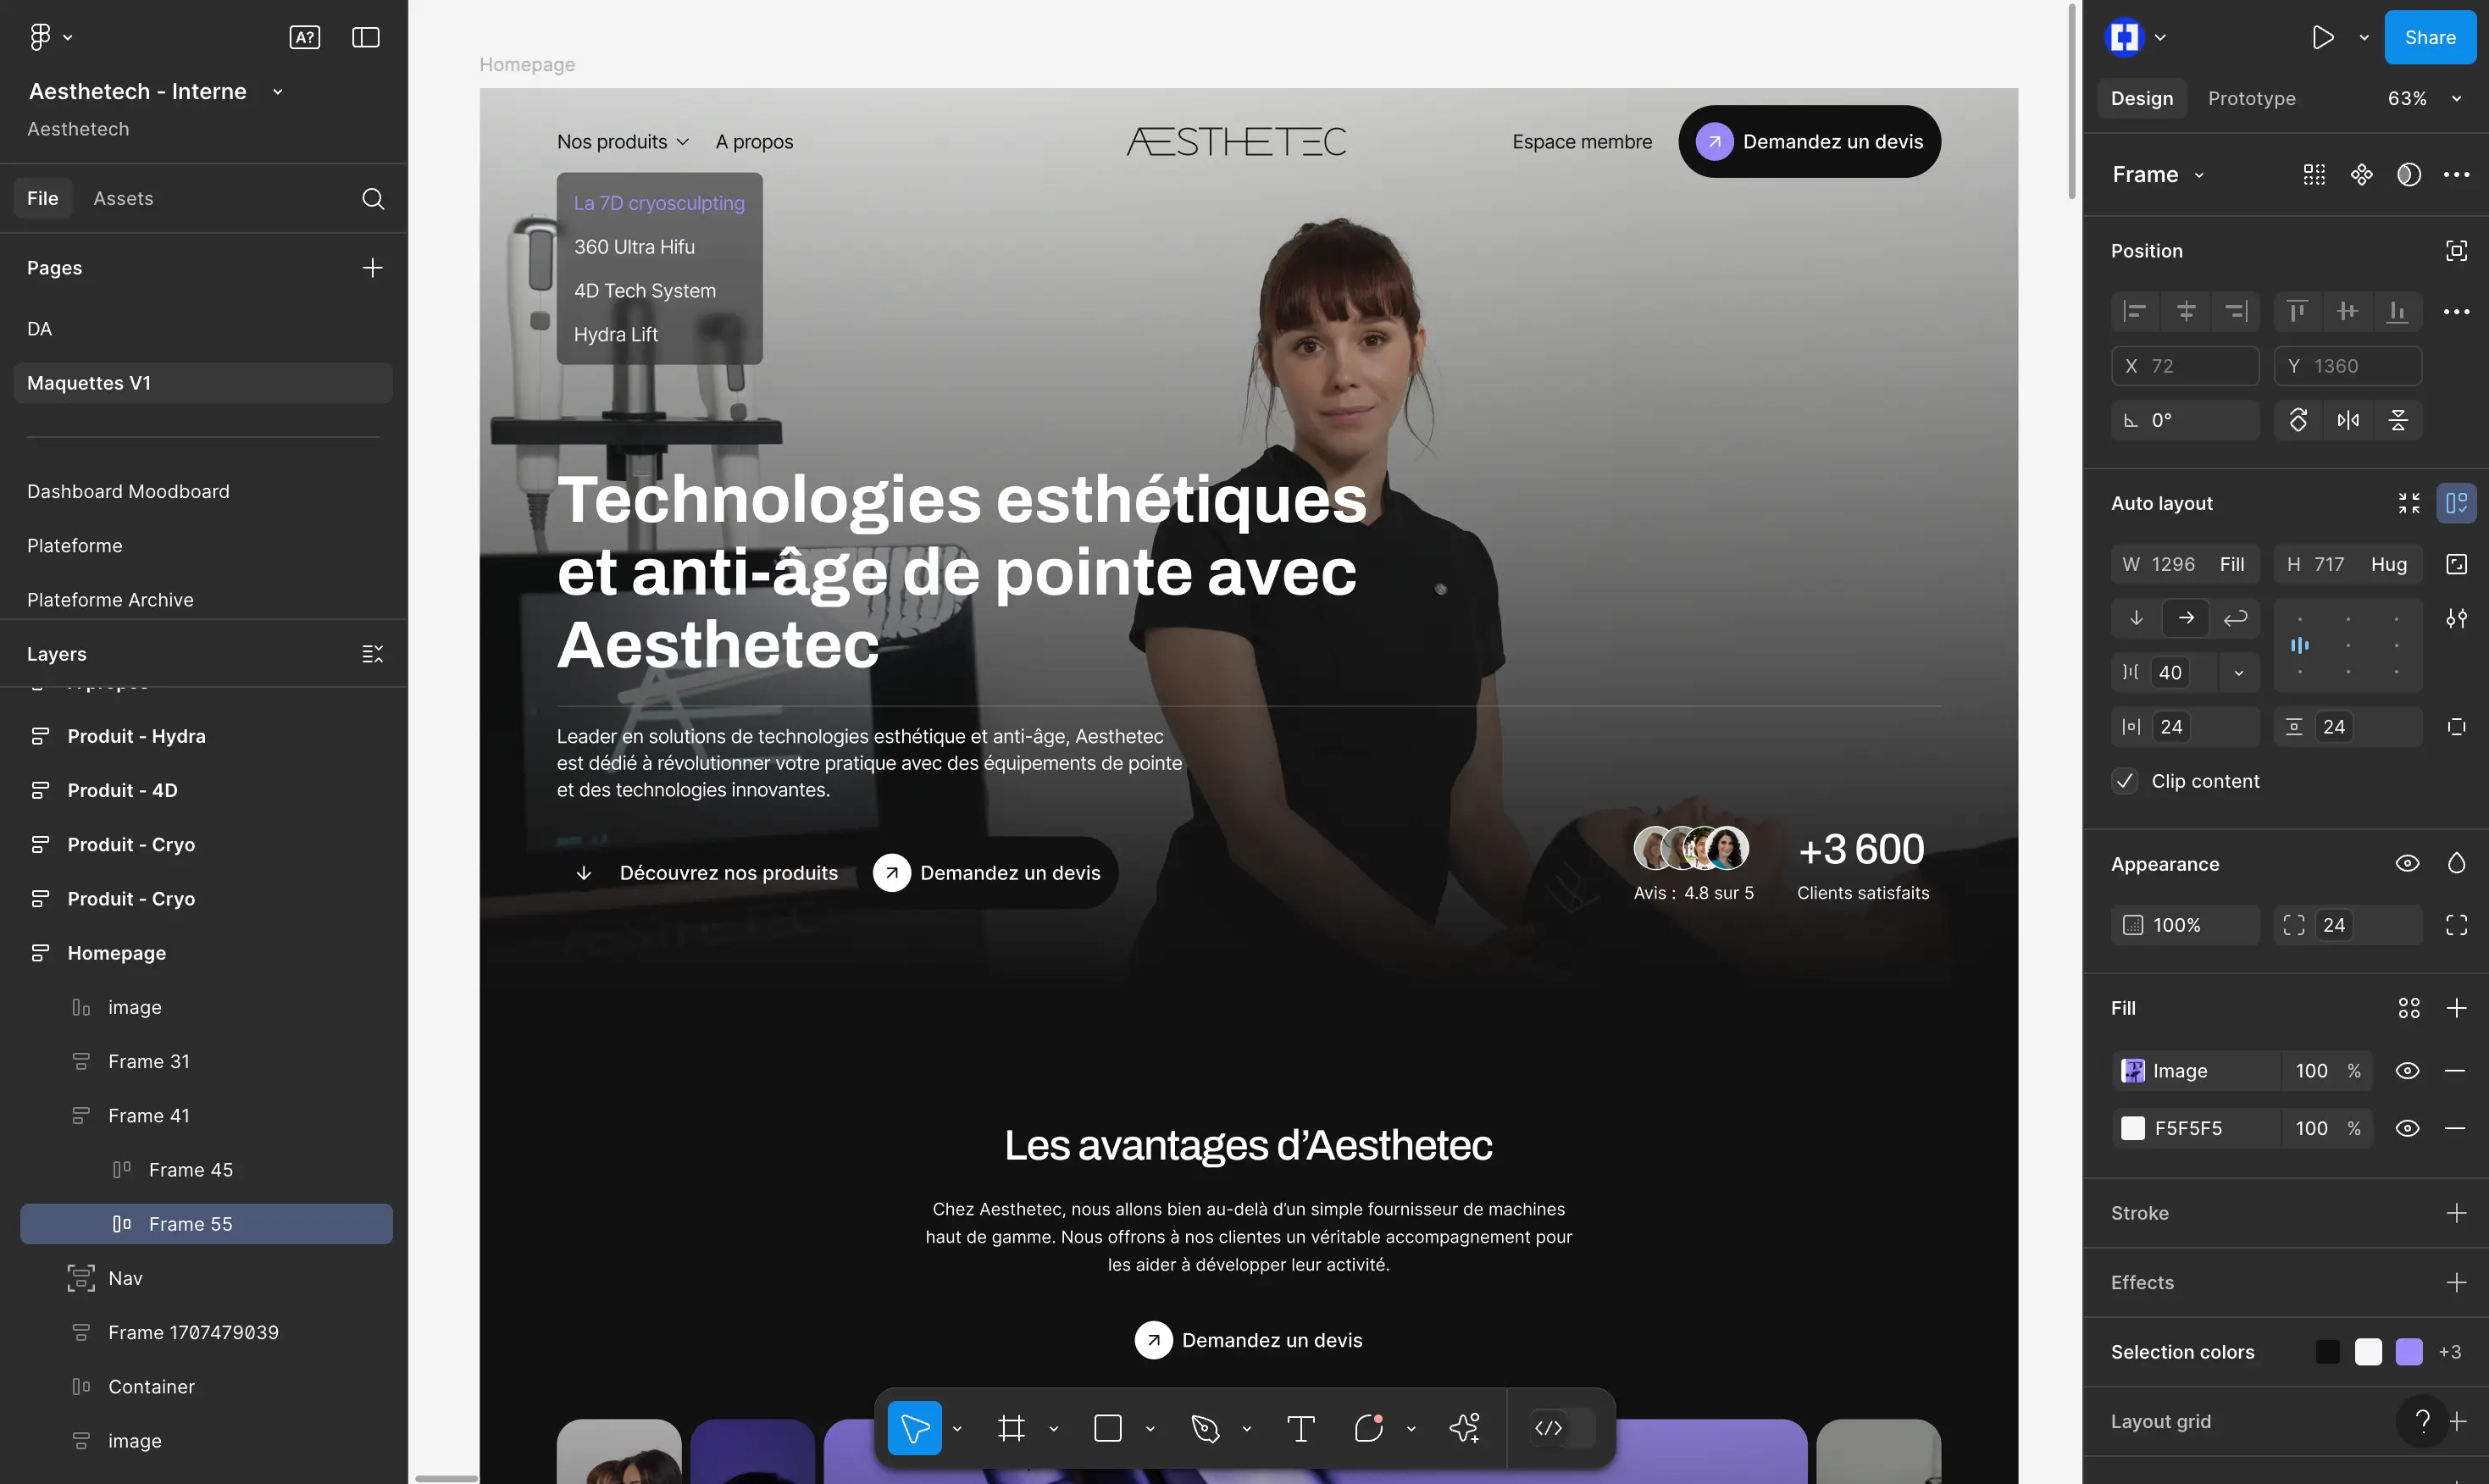
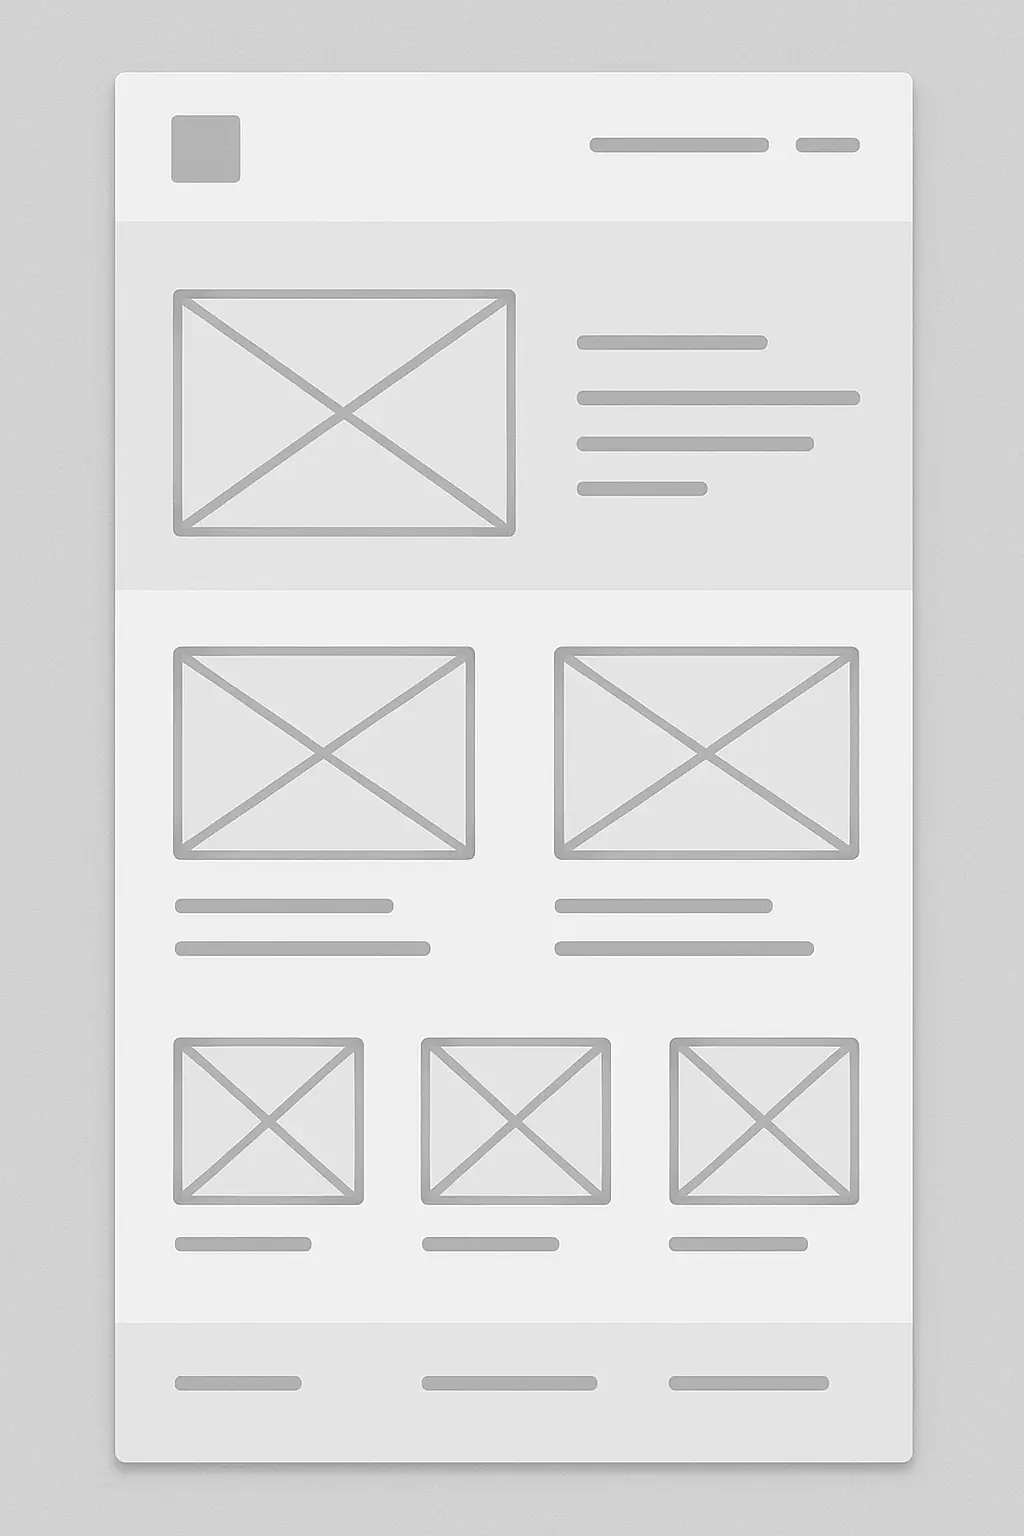
2. The creation of the wireframe on Figma
The wireframe is an essential step in the design process. It is a raw plan that represents the basic functionalities, key elements, and layout of your website or application. This step allows you to define the architecture and structure of the project without focusing on visual details.
Use basic Figma tools, such as the “Frame” tool to create frames, the “Rectangle” tool for shapes, and the “Text” tool to add text content. Organize these elements to represent the various sections of your site, including the header, main body, and footer.
Include placeholders for key design elements, such as images, buttons, and text boxes. This step will allow you to visualize the overall layout of your project and to identify possible problems before moving on to detailed design.

3. Transform a wireframe into a model on Figma
After validating your wireframe, you can move on to creating the model. This phase consists of transforming the raw sketches into a complete visual design. Add real content, images, colors, and fonts to bring your project to life.
Use the elements defined in your UI Kit, such as color palette and typography, to ensure a visual harmony. Also include previously designed graphics, such as logos, icons, and buttons.
It is also an opportunity to collect Feedback from stakeholders in order to adjust your model. High-fidelity models allow you to test and validate the aesthetics and structure of your project before moving on to the prototyping phase.

4. Auto layouts on a Figma model
Les Auto layouts, or automatic layouts, are a powerful feature by Figma that allows you to manage and organize the elements of your model in an efficient way. These automatic layouts are particularly useful for creating designs. harmonious and responsive, adapted to various screen sizes. For a consistent organization, consider using grids and columns.
For example, you can add a grid to your main frame and customize its settings. A system of 12 columns is ideal for responsive designs. This helps you structure your layout while ensuring that your elements remain well-aligned and organized.
With auto layouts, it is also possible to create reusable components. These components can be easily integrated into your model, which speeds up the design process while improving the overall consistency of your design.
Conclusion
Create a Figma model is an essential step in the process of web design or the development of a mobile application. By following the key steps presented in this article, you will be able to transform your ideas into visual designs that are both Attractive and functional.
Figma is distinguished by its powerful features such as real-time collaboration, interactive prototyping, and the creation of design systems. These tools make it an ideal solution for designing mockups. Remember that theorganization of your workspace, the creation of wireframes, their transformation into detailed models, as well as the use of auto layouts are key steps for the success of your project.
In addition, Figma simplifies the transition between design and development, reducing friction between designers and developers while ensuring visual coherence throughout the project. Don't waste time: put these tips into practice today to take full advantage of Figma's capabilities. Create websites and mobile applications that Impressive and Convert. Start your project now and turn your visions into realities functional and visually captivating.
FAQ - Figma mockup
Is a web developer also a web designer?
No, one web developer And a web designer are two distinct roles, even if they can sometimes overlap. The web developer focuses on the functionality and the technical structure of a website, using programming languages like HTML, CSS, JavaScript, and back-end technologies to ensure the proper functioning of the site.
For his part, the web designer focuses on the aspect visual and the user experience, using tools like Figma, Adobe XD, and Sketch to create engaging and intuitive designs. Although some professionals can combine the two roles, these jobs require different skills and expertise. In general, a web developer is not responsible for the visual design, and a web designer is not responsible for the technical implementation of the site.
Why do a website mockup?
Create a website mockup is essential for a number of reasons. First, it allows you to visualize and test the structure and navigation of the site before moving on to the development phase. This helps identify and correct layout and functionality issues early on.
A mockup also makes it easier to communication with customers and team members, providing a clear and shared vision of the project. In addition, it makes it possible to gather feedback and feedback more effectively, which can reduce costs and long-term development timelines. Finally, a model is used to validate the aesthetics and structure of the site, ensuring that the final product meets the expectations and needs of users.
Why use Figma to make a website mockup?
Figma is a very popular digital design tool for creating website mockups, especially thanks to its numerous advantages. First of all, Figma is an online collaborative tool, which allows designers to work in Real time with their team, regardless of their location. Looking for a trusted partner for your projects? Discover our agency, expert in using Figma.
This real-time collaboration feature improves communication and speeds up the design process. Moreover, Figma offers great flexibility and ease of use, even for design beginners. It offers a variety of features, such as the creation of wireframes, mockups, and interactive prototypes, as well as the use of plugins and templates to optimize the design process.
Finally, Figma is accessible from any web browser, which makes it very practical for projects that require great mobility.
What is the difference between a wireframe and a mockup?
One wireframe And a Model are two distinct steps in the website design process, but they serve different purposes. The wireframe is a raw and minimalist representation of the structure and navigation of a website. It focuses on the position and arrangement of the main elements, not including visual details.
Wireframes are essential for defining the basic architecture of the site and identifying layout issues before moving on to the detailed design phase. The model, on the other hand, is a representation detailed and visual content of the website, including colors, fonts, fonts, images, and actual content.
It integrates all the graphic and visual elements to give a complete and realistic vision of the project. Mockups are used to test and validate the aesthetics and structure of the site, as well as to gather feedback from potential users. In summary, wireframes focus on substructure and navigation, while mockups focus on visuals and user experience.
Synqro's latest achievement